How to Save Seeds for Beginners
A simple seed saving guide to preserving your garden’s future, one envelope at a time.
There’s something quietly sacred about learning how to save seeds for beginners.
Saving seeds is more than a gardening task.
It’s an act of memory, a whisper passed down through seasons. Tucked into small envelopes, saved seeds carry the rhythm of what has grown before and what will return again.
Hey - my name is Bethany, and I'm not a master gardener. But I am someone who believes in the beauty of trying.
I made this guide to teach how to save seeds (for beginners) - and with the idea being to begin even if your garden is small, your time is limited, or you’ve never saved a seed before in your life.
This beginner’s seed saving guide is here to walk you through the process, gently and practically with printable tools, thoughtful tips, and a touch of soul.
Heads up: This page contains a few affiliate links for tools and books I love. If you choose to purchase through them, I may earn a small commission (at no extra cost to you). It helps me keep this garden of words growing. 🌱
Table of Contents
How to Save Seeds for Beginners: A Step By Step Guide
Seeds are promises for the future, neatly tucked into paper.
Why Should We Save Seeds?
Seed saving isn’t just practical — it’s powerful.
In a world where seed companies consolidate and hybrid varieties dominate store shelves, learning how to save seeds gives you:
Independence. You’re not bound to catalogs or store shelves.
Resilience. Saved seeds learn your soil, your weather, your hands.
Preservation. Heirloom treasures — tomatoes from a grandmother’s yard or beans from an old friend — are passed on.
Abundance. A single sunflower head or dry pod can yield next year’s joy.
Creativity. Plants are a lovely way to create something new in your life. By learning how to select for the traits you desire, you’ll ultimately have a variety that’s all your own.
Whether you’re growing toward self-sufficiency, preserving something irreplaceable, or simply savoring the full life cycle of your garden...
...saving seeds draws you into nature’s slow, generous rhythm. This seed saving guide is your companion along the way.
A Glimpse into the Past...
From the terraces of ancient Mesopotamia to the pockets of pioneer women traveling west, humans have saved seeds for millennia. In wartime and drought, seeds were passed hand to hand like sacred promises.
Today, that legacy continues - each envelope a reminder that what we nurture can always return.
To begin your seed-saving journey, gather a few humble tools - useful, simple, and within reach:
Clean paper towels or coffee filters
Seed envelopes or tiny jars
A fine-tip pen or label printer
Optional: silica packets or rice to keep moisture away
A cool, dry place for storage. Think linen closet, pantry, or tucked-away drawer
These tools will help you get started whether you’re saving tomato seeds, peppers, or delicate flower seeds from your backyard garden.
As this seed saving guide will show, you don’t need fancy equipment... just care and intention.
What Will I Need to Save Seeds?
Bethany's Tip: It's not beautiful or exciting, but in a pinch I often will just fold a piece of printer paper around some dry seeds and tape it closed, write the contents on it, and be done with it.
How to Save Seeds for Beginners: A Step By Step Guide
Step 1:
Choose the healthiest plants.
Look for those that thrived. Sturdy stems, vibrant color, no signs of disease or stress.
These plants carry the strongest traits into the next generation.
Step 2:
Wait for full maturity.
Timing is everything.
Let fruits fully ripen or seed heads dry naturally on the plant if the weather allows.
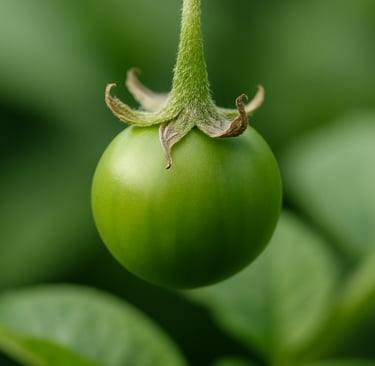
A green pod or underripe tomato won’t give you viable seed. Patience here is worth everything.
Step 3:
Harvest with care.
Clip or pluck your seeds gently.
For pods, wait until they rattle. For fruits, scoop seeds from the flesh.
Think of it like gathering small stories — not just seeds, but potential.
Step 5:
Dry Completely.
Spread seeds in a single layer on a paper towel, coffee filter, screen, or plate and cover with another paper towel.
Let them sit for several days (or up to two weeks for larger seeds), turning occasionally.
They should feel firm, brittle, and quiet when dropped — not soft or sticky.
Step 4:
Clean thoroughly.
Remove any clinging pulp, husks, or chaff.
For wet seeds (like tomatoes or cucumbers), rinse them well or ferment if needed.
Dry seeds can be rubbed gently between your hands or on a sieve to release them.
Step 6:
Package and Label.
Carefully place your seeds into your storage container. I like to include a dessicant packet if my container doesn't breathe.
Use a fine-tip pen or label to mark it right away. I mean it - don’t skip the labeling part.
Include the plant name, variety, and date saved if you can. Notes on why you saved it is always good.
Saving seeds is more than preservation.
It’s partnership. A quiet rhythm shared between you and the soil, deepening with each season.
How do I Ferment Seeds and Why do I Need to?
Some seeds (like tomatoes, melons, and other seeds that have a lot of juiciness, gel, or muck with them) benefit from fermentation.
It sounds advanced, but it’s actually very simple:
Scoop the seeds and surrounding pulp into a small jar.
Add a splash of water if necessary - just enough to make it a little soupy.
Cover loosely and let it sit for 2–4 days.
Swirl around once or twice a day. You may see mold — that’s part of the process!
When the seeds sink and the mold forms a thin film, they’re ready.
Pour off the water and floating bits (yes, floating seeds are no good).
Rinse thoroughly in a strainer and dry completely on a paper towel.


Saving seeds isn’t just about collecting — it’s about selecting.
Each season, you’re shaping the future of your garden. Whether you realize it or not, you’re becoming a plant breeder in your own backyard.
That means you don’t want to save seeds from just any plant. You want to save from the best.
What to Select For
Ask yourself:
Did this plant thrive in my soil and weather?
Was it early, abundant, or especially flavorful?
Did it resist pests/disease or bounce back from stress?
Was it uniform (if that matters), or did it have a quirky trait I love?
Your answers shape the future. Choosing seeds from your strongest, most desirable plants gradually tailors your crops to your microclimate, preferences, and values.
When to Select
Start observing early in the growing season:
Tag standout plants with string, garden markers, or a bit of tape.
Take notes! What did well in June might be a blur by September.
Don’t wait until harvest time. Some of your best seed candidates may be eaten or overripe by then if you’re not watching.
Why This Matters
Random seed saving can lead to:
Weaker plants over time, especially if disease-prone or underperforming varieties are passed on.
Unwanted surprises in flavor, yield, or appearancee, specially with hybrids or cross-pollinated crops.
Loss of traits you value, like bolt resistance, sweetness, or compact growth.
Intentional selection keeps the qualities you love, and even improves them year by year.
How do I Choose the Right Seeds for Saving?
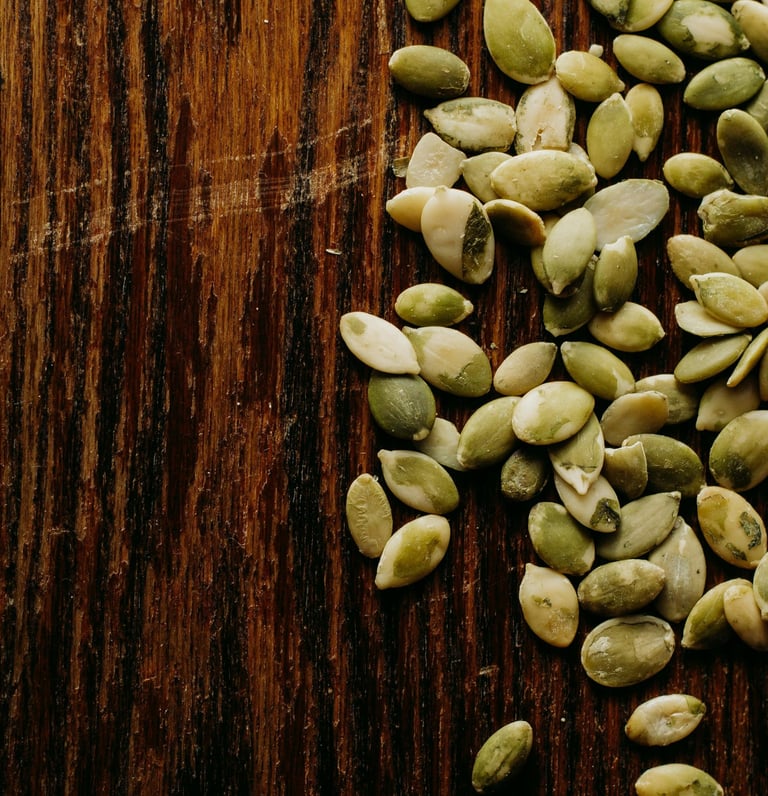
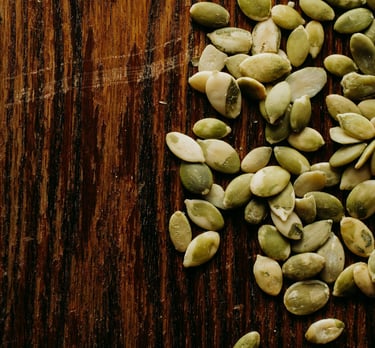
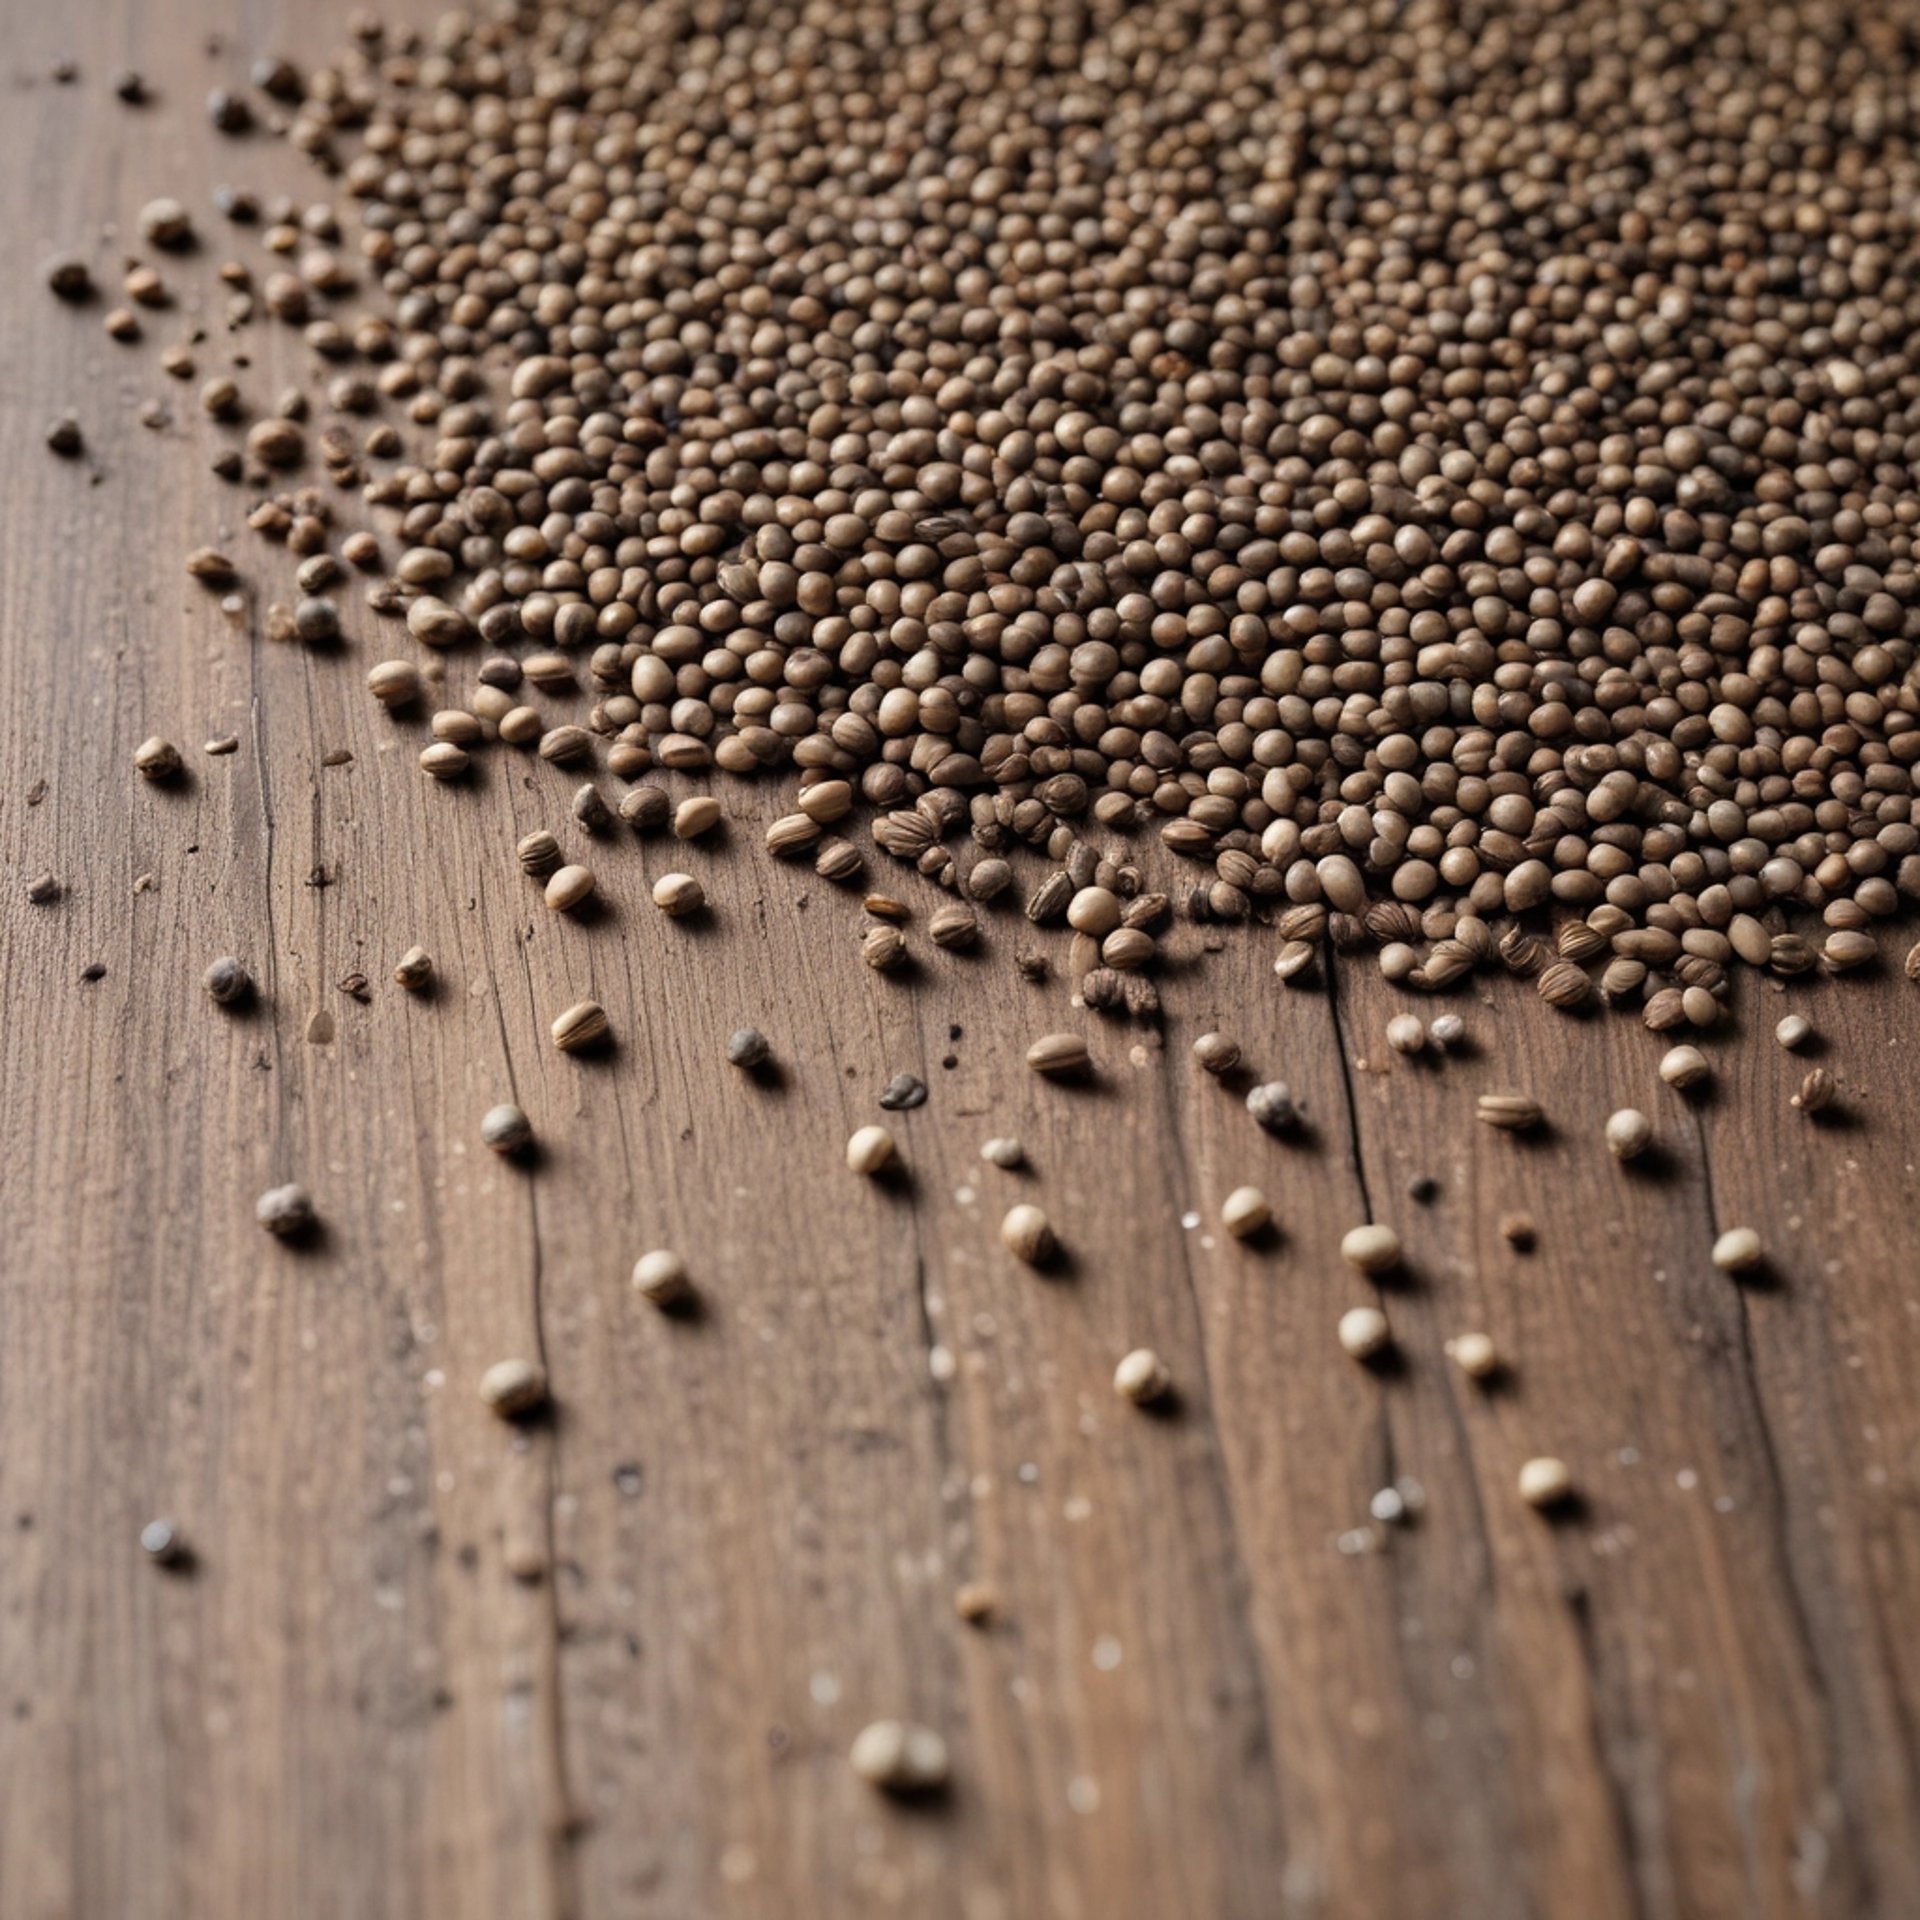
Popular Seeds to Save (and How)
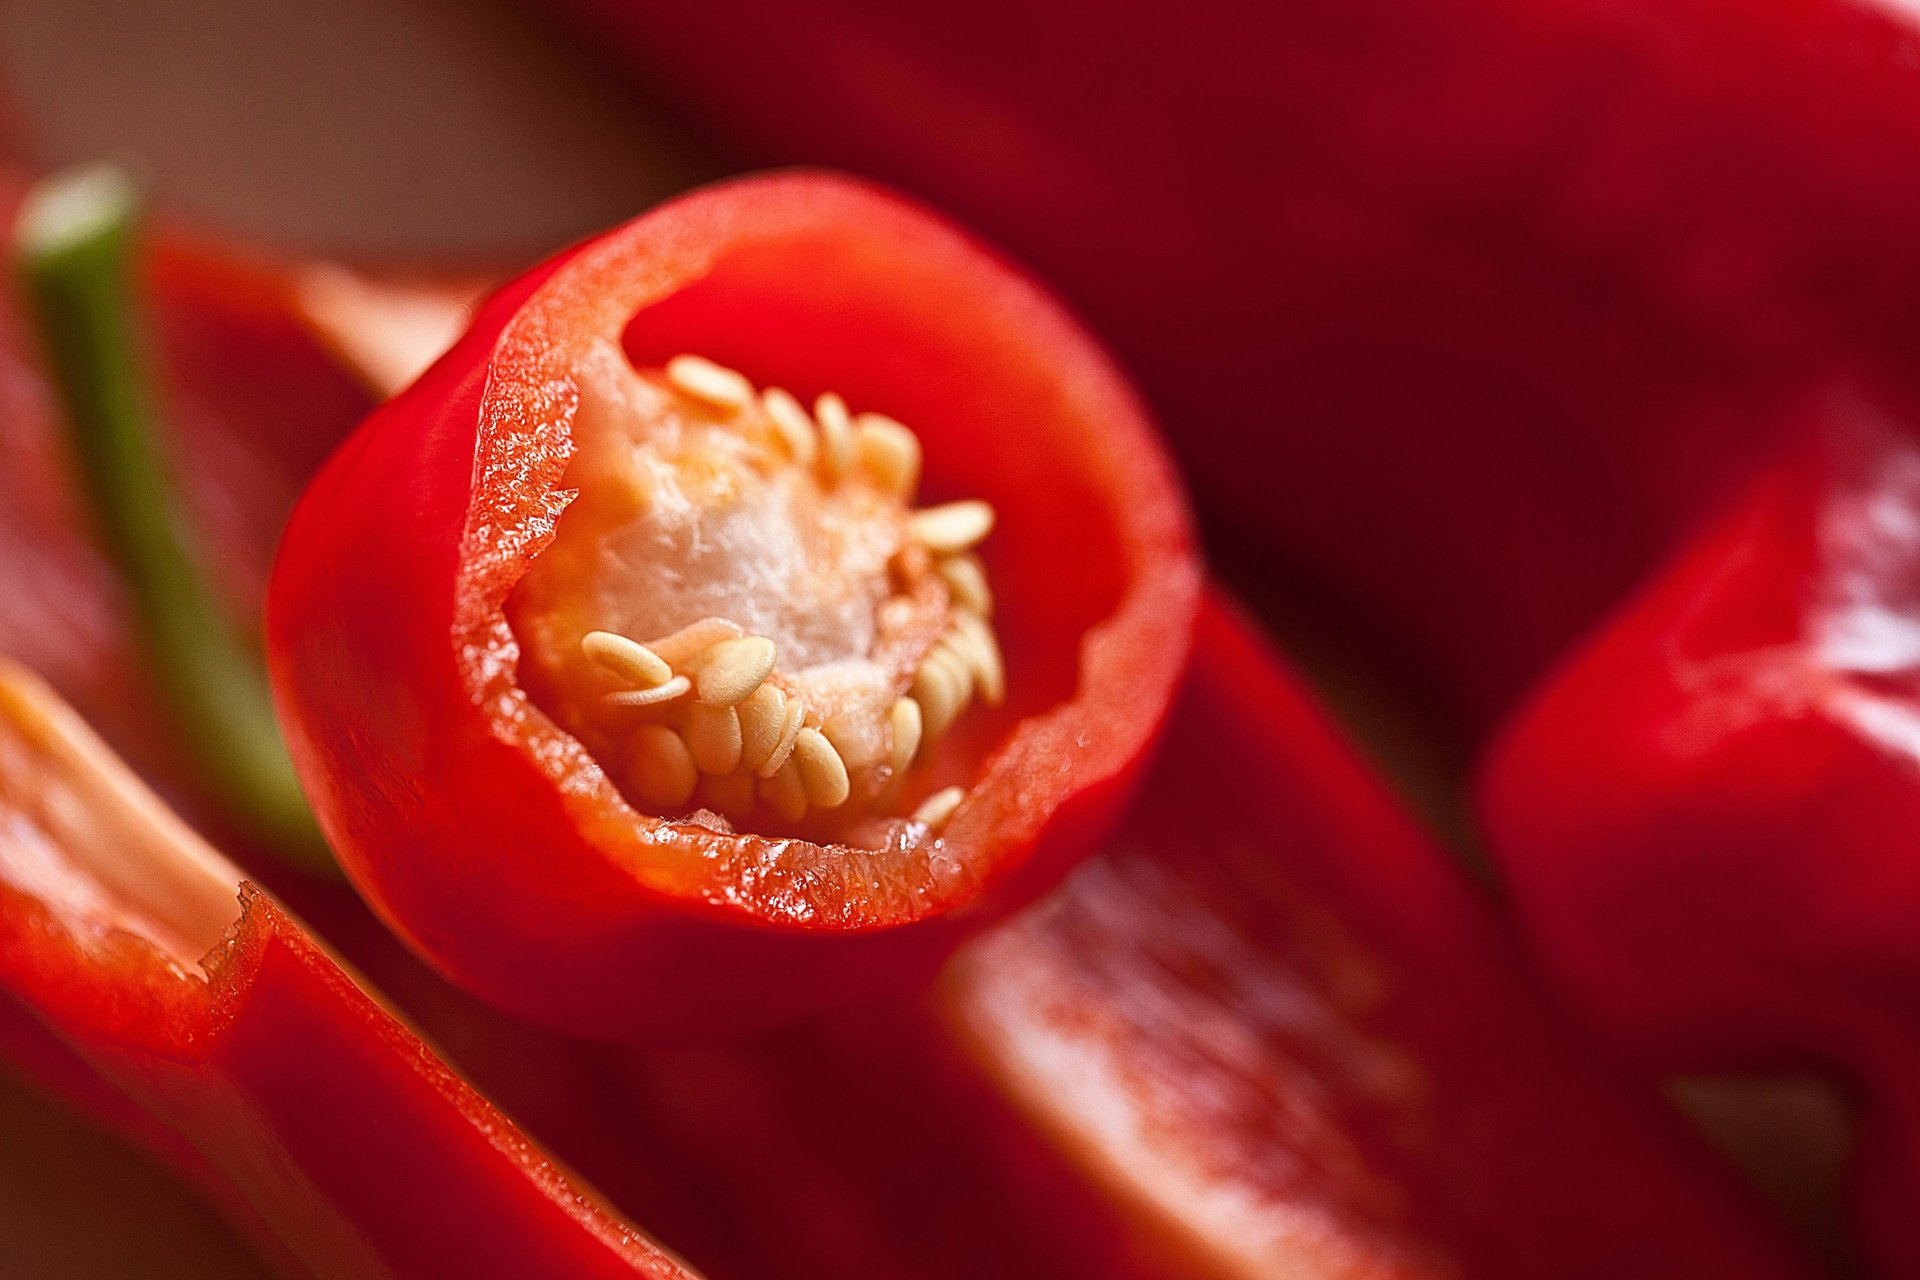
Tomatoes — Scoop out pulp and seeds and ferment before rinsing and drying.
Peppers — Cut open ripe fruit, knock seeds out, and dry on a towel.
Beans & Peas — Let the pods dry fully on the plant. Shell them when they feel crisp.
Lettuce — Wait for seed heads to fluff up like dandelions. Snip and crumble over a tray, then winnow.
Most Herbs — Wait until flower heads dry completely, then gently crumble and sift out seeds or winnow.
Zinnias — When flowers are completely dry, pull apart the center cone to find seeds.
Cucumbers — Wait until the fruits are overripe and turn color (often a reddish brown), then cut it open, scoop the seeds, ferment, and dry.
Melons — Scoop seeds from ripe fruit, ferment (or just rinse away pulp), and dry.
Squash — Scoop seeds, ferment or just rinse, and dry thoroughly.
Pumpkins — Treat the same as squash. Let seeds fully dry before storing.
Bethany's Tip: I love to be mindful and curious with my seed saving - and thoughtfully consider what I want growing in next season’s garden. A particularly sweet melon will get its seeds set aside immediately. The earliest ripe tomato? Yes, I am absolutely saving those seeds!
Winnowing the Chaff
Some seeds don’t separate cleanly from plant material — you’ll end up with a pile of bits and pieces, some light and papery, others heavy and round.
Here’s a simple, satisfying way to separate them:
Rub and crumble. Gently rub the dried seed head between your hands or fingers to release the seeds.
Pick out the big stuff. Remove stems, large petals, and anything obvious.
Winnow the rest. Hold the pile in your hands (or in a shallow bowl). Gently blow across the surface... the lighter chaff will float away, while the heavier seeds stay behind.
Repeat once or twice, and you’ll be left with a lovely pile of clean seeds (no fancy tools needed).
Bethany's Tip: I like to do my winnowing over a tile floor or even lay down a sheet just to make sure to catch any flyaway seeds. And if you have a windy day, it can be kinda fun to let the wind do all the work!
Pollination Mythbusting
Many gardeners believe that planting different types of squash or melons together will give you weird hybrid fruit right away — but that’s not quite how it works.
MYTH:
"Planting cucumbers too close to melons will give you melony-tasting cucumbers or cucumbery-tasting melons."
FACT:
Aside from the fact that melons and cucumbers don't cross-breed, cross-pollination affects next year’s plants, not this year’s fruit.
Think of the fruit as the "womb" and the seeds are the "babies." The fertilization source doesn't change the genetics of the "womb" - only the genetics of the resulting "baby."
The ONE exception to this is with corn - corn pollination does, in fact, affect the corn we eat.
If sweet corn is pollinated by field corn or a decorative corn, you will notice it in the crop's characteristics the same year.
So - generally speaking, if you have a cross-pollinated plant, the surprise won’t show unless you grow those seeds in the next season.
Bethany's Caveat: I do say the word "generally" with intent here... because as the very wise and not-at-all arrogant Dr. Ian Malcolm once said, "Life... uhhh... finds a way." So if you do end up with some random mutated genetic oddball, we can chalk that up to life finding a way.
How Plants Pollinate (and Why It Matters for Seed Saving)
Plants have different ways of reproducing... and if you’re saving seeds, knowing how yours are pollinated helps avoid funky surprises or mystery offspring.
✔️ Self-Pollinating Plants
These plants mostly fertilize themselves and don’t cross easily. Great for beginners! Examples: Tomatoes, peppers, beans, peas, lettuce
Seed-saving tip: You can grow multiple varieties fairly close together without trouble. A couple of feet between plants is usually fine.
✔️ Insect-Pollinated, Cross-Prone Plants
These need bees or other pollinators to carry pollen between flowers... and they’ll happily hop between varieties if given the chance. Examples: Squash, pumpkins, cucumbers, melons, corn
Seed-saving tip: To save pure seed, plant only one variety per species (or isolate them).
Isolation distances vary — for example:
Squash/Pumpkins: ½ to 1 mile (yes, really!)
Cucumbers: 800 feet
Corn: at least 300 feet or stagger maturity
Melons: ¼ to ½ mile
✔️ Wind-Pollinated Plants
Wind carries pollen far and wide — especially with corn. Examples: Corn, beets, chard
Seed-saving tip: These are hard to isolate in small gardens. If you’re serious about purity, you’ll need distance, barriers, or timed planting (so they are pollinating at different times) to avoid overlap.
So, What Crosses With What?
There are SOME species that will cross-pollinate
Pumpkins + Zucchini/Squash: Same species = likely to cross
Melons + Other Melons (like honeydew types vs cantaloupe types): Cross with each other but not with cucumbers
Watermelons + Other Melons: Will not cross
Cucumbers: Rarely cross outside their own kind
Corn: Crosses freely with other corn (even decorative types) and sorghum (and you WILL notice the results the same year)
Tomatoes: Usually safe to grow multiple types close together
Beans and Peas: Also usually self fertile and generally safe to grow multiple types together
Tomatillos: Won't cross pollinate with Tomatoes, but will not pollinate flowers from itself so plant at least 2.
Brassicas like Broccoli, Cabbage, Cauliflower, etc: Will readily cross pollinate with each other
Carrots: Will cross pollinate with Queen Anne's Lace (A common weed)
So - What If You Can’t Separate by Distance?
Not everyone has rows of acreage to plant their squash 800 feet apart. In small gardens — or busy ones — cross-pollination is a real concern. But distance isn’t your only option. Hand-pollination gives you control where space can’t.
It’s simple, effective, and in many cases… kind of magical.
All About Hand Pollination
Hand-Pollination 101: Saving Pure Seed Without Space
You can manually pollinate certain crops to control which parents produce your seeds. Here's how:
✔️ The night before blooming, identify the flowers that will open in the morning:
Male flowers have no swelling at the base.
Female flowers have a tiny fruit behind the bloom.
Self fertile flowers have both male & female parts and generally look identical
✔️ Gently tape them closed or bag them (organza or mesh bags work beautifully) to keep insects out.
✔️ In the morning, when they open naturally, pluck a male flower, remove the petals, and use the pollen to gently dust the center of the female flower.
✔️ Re-seal the female flower by taping or bagging it for another 24–48 hours so no stray bees sneak in.
✔️ Mark that fruit clearly — it’s the one you’ll save seeds from. Let it fully ripen and cure.
What Plants Are Ideal for Hand-Pollination?
These crops have large, easy-to-identify flowers that open briefly — making them perfect for this method:
Squash & Pumpkins: Insect-pollinated and highly crossable. Hand-pollinating is very effective here.
Melons & Cucumbers: Also insect-pollinated. Can be hand-pollinated the same way as squash, though melon flowers are smaller and a little fussier.
Corn: Wind-pollinated, but it can be done by collecting tassel pollen and dusting the silks of selected ears. Tricky, but possible.
Beans & Peas: Usually self-pollinating, but if you want to ensure no crossing, you can bag flowers before they open. Hand-pollination is rarely needed but sometimes used by purists.
Plants That Don’t Need It
These plants mostly self-pollinate and have little risk of crossing in the garden:
Peppers (minimal risk unless bees are particularly active)
Eggplants
Tomatoes (unless you're growing potato leaf + regular types side-by-side)
Lettuce
In these cases, spacing or choosing a windless area may be enough — no bags or brushes needed unless you're breeding specific traits.
Plants Where It’s Not Practical
Some plants are technically hand-pollinatable… but not realistically so in the home garden:
Carrots, Beets, Parsnips: These are biennials that flower in their second year and produce hundreds of tiny blooms. You’d need insect isolation or full cages to prevent crossing — hand-pollinating individual flowers is nearly impossible.
Brassicas (Cabbage, Kale, Broccoli): These cross wildly and flower all at once in big bursts. Best controlled with row covers or distance — hand-pollination is very difficult.
Worth noting: for the home gardener, just one carefully hand-pollinated fruit is often enough for years of saved seed.
Protect one. Save the seed. Let the rest bloom wild. It’s a beautiful balance.
The seed remembers the hand that sowed it.
Important Mention: Biennials and Patience
Some seeds ask us to wait a little longer — and trust a little deeper.
Not every plant rushes to reproduce in a single season. Some take their time.
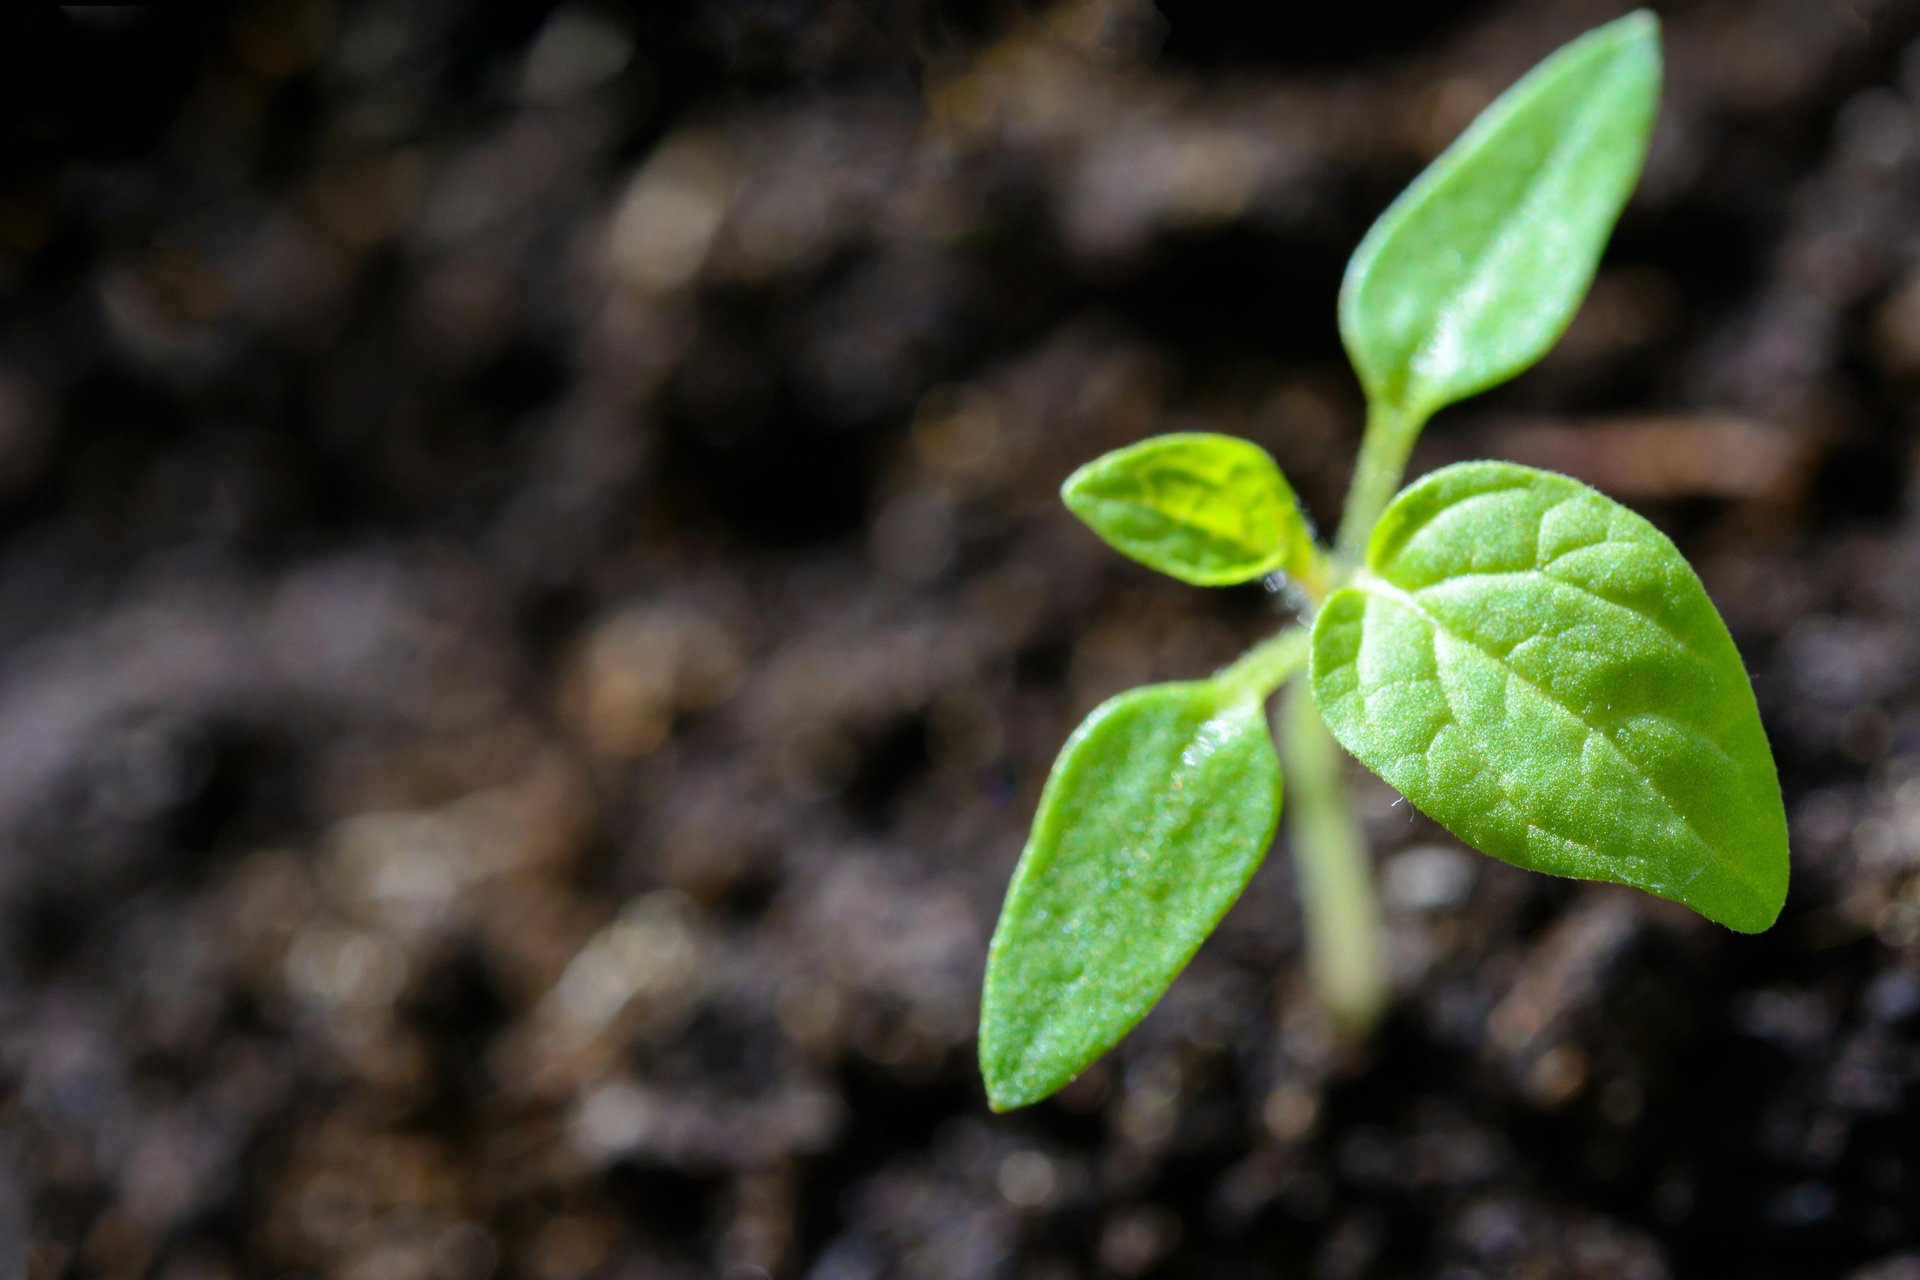
These are biennials — plants that spend their first year growing roots, leaves, and storing energy, then bloom and set seed in their second season.
Their rhythm teaches patience, and their gift is well worth the wait.
Common biennials include:
Carrots
Parsnips
Onions (many types)
Leeks
Parsley
Beets
Some brassicas (like cabbage or Brussels sprouts)
How to Save Seeds from Biennials:
Let them grow undisturbed in their first season.
Harvest only what you need, and leave a few of your healthiest plants in the ground.
Protect them through winter.
In colder climates, you may need to mulch heavily, or even dig and store roots in a cool place and then replant in early spring once the threat of frost has passed.
Carrots, parsnips, and beets are often dug up and stored in slightly damp sand or sawdust.
Onions may be braided or stored in mesh and replanted when days begin to lengthen again.
Wait for the bloom.
In spring, biennials will send up tall flowering stalks — often surprisingly beautiful. Let them flower and dry on the plant.
Collect seeds carefully.
Once seed heads are dry and papery, snip and thresh them, removing chaff gently. Store like any other seeds: cool, dark, and dry.
Bethany's Caveat: Mark your biennials clearly, especially if you're overwintering in place. It’s way too easy to mistake them for weeds or forget where they were planted! A ribbon, rock, or note in your garden log will help your future self.
What About Potatoes, Garlic, and Friends?
Not all garden treasures grow from seed — some begin again from themselves.
Some of the most beloved kitchen staples — potatoes, garlic, shallots — don’t come from saved seeds at all. Instead, they’re propagated vegetatively, meaning we plant part of the actual plant to grow the next one. It’s like handing off a living baton in the garden’s relay.
Potatoes
Instead of seed, save the tuber — the part we eat!
When planting time comes, cut each potato into chunks, making sure each piece has at least one healthy “eye” (the dimple where sprouts form).
Let them air dry for a day or two to prevent rot, then plant in loose soil.
Garlic
Save a few bulbs from your harvest and replant the individual cloves.
Plant in fall (in most climates), mulch well, and let them rest through winter. Come spring, they’ll send up shoots and begin again.
Potatoes sometimes produce true botanical seed from their flowers, stored in small green berries (kind of like an unripe cherry tomato).
These are fun for experimentation, though they won’t grow true to the parent and take longer to mature.
Garlic may form bulbils - tiny cloves that develop at the top of the flower stalk. These can be planted too, but they take 1–2 years to form full-sized bulbs.
Both options are fun rabbit holes for curious gardeners!
But... actually... sometimes there ARE seeds!
Seed saving can feel mysterious at first... but it’s simply about noticing, collecting, and storing with care. Here are some of the most common beginner questions, answered gently and clearly.
How long do seeds last?
Most seeds last 2–5 years if stored in a cool, dry place. Some, like tomatoes, beans, or squash, stay viable even longer.
Others, like onions, parsnips, or lettuce, have shorter lives and are best replaced every year or two.
FAQ - Questions Beginners Often Ask
What if I don’t dry my seeds enough?
They may mold in storage, losing viability or turning soft and unusable. To test: dry seeds should feel brittle or papery, not bendy or damp.
Air-dry thoroughly on paper towels or mesh screens before sealing them up.
Can I save hybrid seeds?
Yes, but be prepared for surprises. Hybrid seeds generally won’t grow true to the parent plant.
You might end up with something completely different (or unexpectedly wonderful). Many gardeners experiment with hybrids just to see what appears.
Do I need to bag flowers or hand-pollinate?
Only if you're trying to keep a variety pure — like heirloom squash or corn.
For most home gardeners, this isn’t necessary unless you're planning to share or sell seeds. Let nature do the work unless you’re intentionally breeding.
Can I freeze my seeds?
You can, but only if they’re completely dry.
Moisture plus freezing = ruined seeds.
If you’re unsure, it’s safest to store them in a cool closet or pantry instead.
Can I save seeds from grocery store produce?
Sometimes — but not always successfully. Heirloom produce may give you viable seed. Hybrid store varieties might sprout, but results are unpredictable.
Also, some produce is treated to prevent sprouting, so seeds may not be viable.
It’s fun to try, especially with organic, local produce, but for consistent results, save seeds from plants you’ve grown yourself.
Save the Seed, Save the Story
Your seeds deserve a cozy, intentional home — one that keeps them dry, labeled, and ready for next season’s magic.
Basic Tools for Seed Storage:
Mini glass jars – Great for seeds that stay dry and visible. Clear walls let you admire your efforts. They can be cute, recycled, matching, eclectic - whatever works for you!
Seed-saving (or coin) envelopes – Classic, compact, and easy to label. Ideal for seeds that don’t need airtight storage. I like having these on hand for giving out seeds (and they are handy to write all the details on).
If you are crafty, you can make your own, but you can also get packages of blank ones on Amazon. You DO want to make sure they are breathable seed storage envelopes to prevent your seeds from molding.
Little Tic-Tac type boxes - these things are awesome for seed saving. You can reuse them from your own mints, or even buy sets of empty ones online (They are often used in crafts such as diamond painting).
Tiny little zip top jewelry bags - these are the most economical way, in my opinion, and you can just write the variety and year on the bag, easy peasy.
Storing the Storage
The other half of storage is where do you put ALL the seeds after they are separated into their own containers?
Shoe boxes - classic, easy and often free - cardboard or plastic shoeboxes make awesome seed storage.
Ammo Cans - yes, of course I would have to mention how many people use ammo holders - the handles and the clip on lids keep everything snug and secure.
Scrapbooking photo organizers - this is actually my favorite and the main way I store mine. Each organizer has a bunch of smaller plastic containers intended to store photos and they just happen to be the perfect size for seed packets! Click here to see the ones I use.
Hint for these: I like to write the general category on each smaller container so when I open the big container, I see everything at a glance and can immediately reach for whatever type of seed I'm seeking.
Other Things to Consider
Moisture control – Slip in silica gel packets or a little muslin bag of uncooked rice to keep seeds dry through the seasons.
Label Everything. Trust me, you'll thank yourself later.
Use a fine-tip marker or label printer and note the plant name, variety, and harvest date. A little extra effort now prevents future mystery packets.
Final Storage Spots That Work Well (Aka the Storage for the Storage for the Storage):
Linen closets
Kitchen pantries
Desk drawers
Storage tins tucked into cool, dark cabinets
Avoid anywhere hot or humid - heat shortens a seed’s life.
What's the Best Way to Store Seeds I've Saved?
Bethany’s Tip: Reuse what you already have! Mint tins, spice jars, tea canisters, even recycled envelopes can become charming seed homes. It doesn’t have to be perfect — just dry, cool, and labeled.
What Not to Save (or Do)
Not every seed is worth saving, and not every method works in your favor. Here’s what to avoid:
Don’t save seeds from:
Sick or stunted plants - They may pass along disease or weakness.
Underripe fruit or pods - Immature seeds may never sprout.
Hybrid varieties (unless you're okay with surprises) - They don’t grow true — your “sweet red cherry” might become a sour green blob.
Don’t:
Store seeds in the fridge door (temperature fluctuates too much)
Forget to label - mystery squash is only fun once
Assume “dry enough” means “dry the outside” — seeds must feel crisp throughout
Store seeds in plastic bags unless completely dry (they’ll mold!)
Instead - pick the best, ripest fruits or fully dried pods. Air dry thoroughly, and always choose healthy, pest-resistant, productive plants.
Seed saving is a little like storytelling — not every story is worth repeating. Be intentional.
What are Some Resources For Learning More About Seed Saving?
Books Worth Keeping on Your Shelf
Seed to Seed by Suzanne Ashworth: A foundational classic, incredibly thorough with species-specific seed-saving techniques. Best for when you’re ready to dive deeper.
The Seed Garden: The Art and Practice of Seed Saving by Seed Savers Exchange: Beautifully laid out and beginner-accessible. Offers clear charts and growing tips for over 75 crops.
Vegetable Gardener’s Bible by Edward C. Smith: Not just about seeds, this one helps you build a thriving garden from soil to harvest, so your seed saving has something to grow in.
Gaia’s Garden by Toby Hemenway: For the permaculture-inclined. Helps you see your garden as a living ecosystem — one that’s perfect for long-term seed stewardship.
Seed Sources & Swaps
Seed Savers Exchange: A nonprofit preserving heirloom seeds with a rich catalog and gardener-to-gardener swap network.
Baker Creek Heirloom Seeds: Stunning catalogs and rare varieties. Great for gardeners who love color, flavor, and plant diversity.
Local Seed Libraries: Check your county extension office or library -many have seasonal swaps or borrowing programs.
Online Seed Swaps & Facebook Groups: Search “[Your State] Gardeners” or “Heirloom Seed Swap” on Facebook for regional communities.
Bethany’s Tip: Don’t feel like you need everything right away. One book, one envelope, and one seed head is enough to begin.
Go Forth & Grow...
There’s something so grounding (even healing) about tending to something from start to seed.
It reminds us that nothing is wasted, that quiet effort pays off, and that life has a way of beginning again, even after a long winter.
Whether you save one envelope or one hundred, whether your seeds sprout true or surprise you — you are part of something old and beautiful.
This seed saving guide was just the beginning. Let it lead you gently outward, back into your soil, into your story, into the rhythm of things that grow.
Grow something. Share something. Keep going.
This guide was created with dirt under my fingernails, late nights, and a lot of care. No ads, no paywalls, just a simple offering for fellow growers.
If it helped you, inspired you, or made seed saving feel just a LITTLE less mysterious (or even just if you enjoyed your ads-free time) there are two simple ways to say thanks:
Share the Love... Sow it Forward!
Share it with someone who might be interested in it.
Pin it, email it, or send it to that friend who always talks about tomatoes.
-- Share on Facebook --
-- Tweet this guide --
-- Pin it on Pinterest --
Buy Me a Coffee
(or some compost)
Every tip - big or small - helps keep this space alive and growing.
Many people give $5, but it's entirely up to you and either way, is very appreciated.
-- Buy Bethany a Coffee --
Created by Bethany Archer, lifelong gardener and founder of Grow & Gather Life.